Register on ReadTheDocs
The first thing to do is to login on readthedocs. Unfortunately you can’t use your github account this time and you have to create a couple login/password.
If your registration and login are successful you must arrive on your home page.
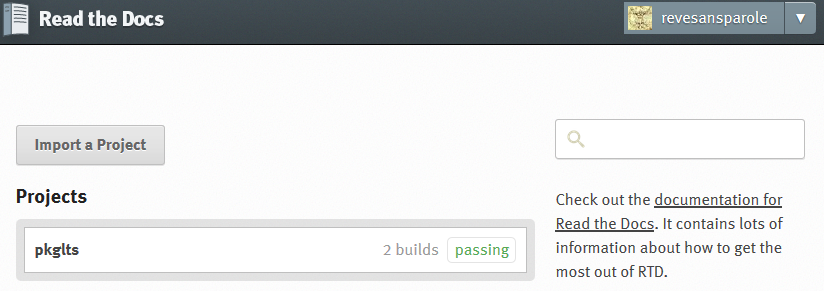
Hitting ‘import a project’ leads you to a list of projects you collaborate.
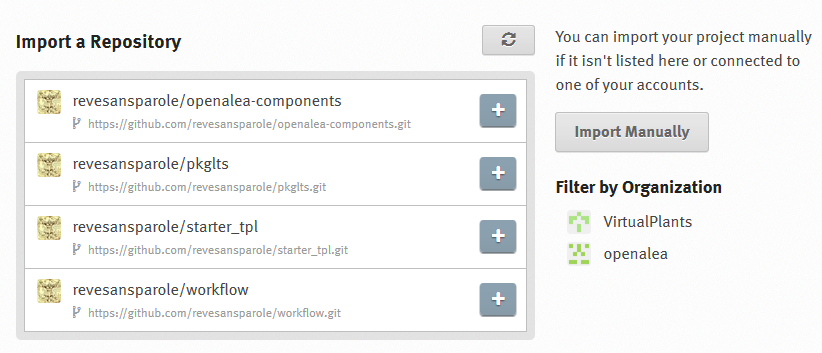
If nothing is showing try clicking on the refresh list button.

Importing your project
If you are lucky, clicking the ‘+’ sign nearby your project name can be sufficient to import your project. Unfortunately you will certainly have to fall back on the ‘import manually’ method. Clicking the eponymous button will lead you to the registering page.
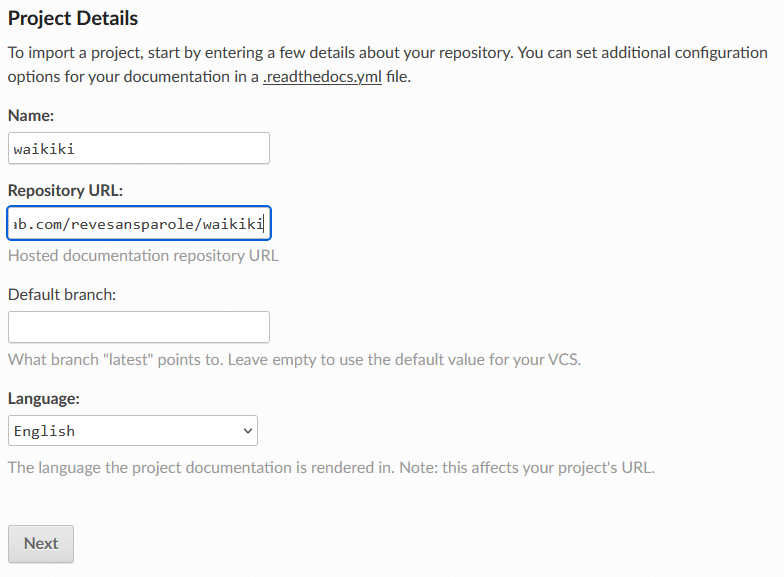
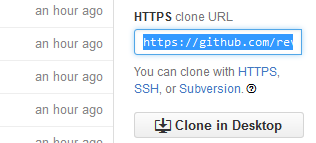
Fill the fields with the relevant information. ‘name’ can be the same name you use for your project on github. ‘repository url’ corresponds to the url of the github repository. You can copy/paste it from the ‘HTTPS clone url’ box on the home page of your project on github.
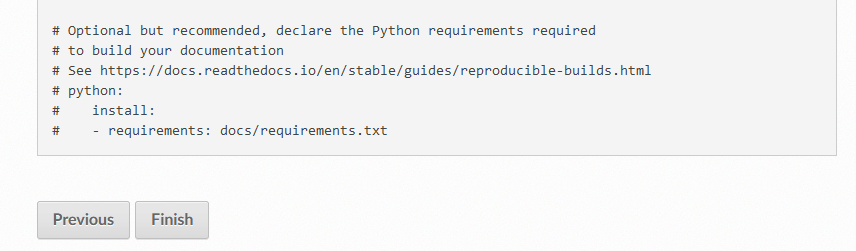
Leaving default branch blank and language to english, clicking next will lead you to a page explaining how to setup your project. Since this part is managed by pkglts you can safely ignore it and click on finish.
Making the generation of your doc successful
For your documentation to be build everytime you push on your original repo, you need to follow the doc and register a webhook.
https://docs.readthedocs.io/en/stable/guides/setup/git-repo-manual.html
Final remark
If everything is successful, you must now have a doc-latest green badge that show on top of your readme in the homepage of your project on github (hit refresh if you see nothing). This badge links to the public version of your doc.
No more excuses to postpone the writing of a comprehensive documentation for your beautiful code :)